Discovering the Renault Trafic: A Versatile Campervan Redefined for Safety and Efficiency and Comfort
5th February 2024Embarking on a remarkable journey through Australian roadways for over two decades, the Renault Trafic stands as a beacon of...
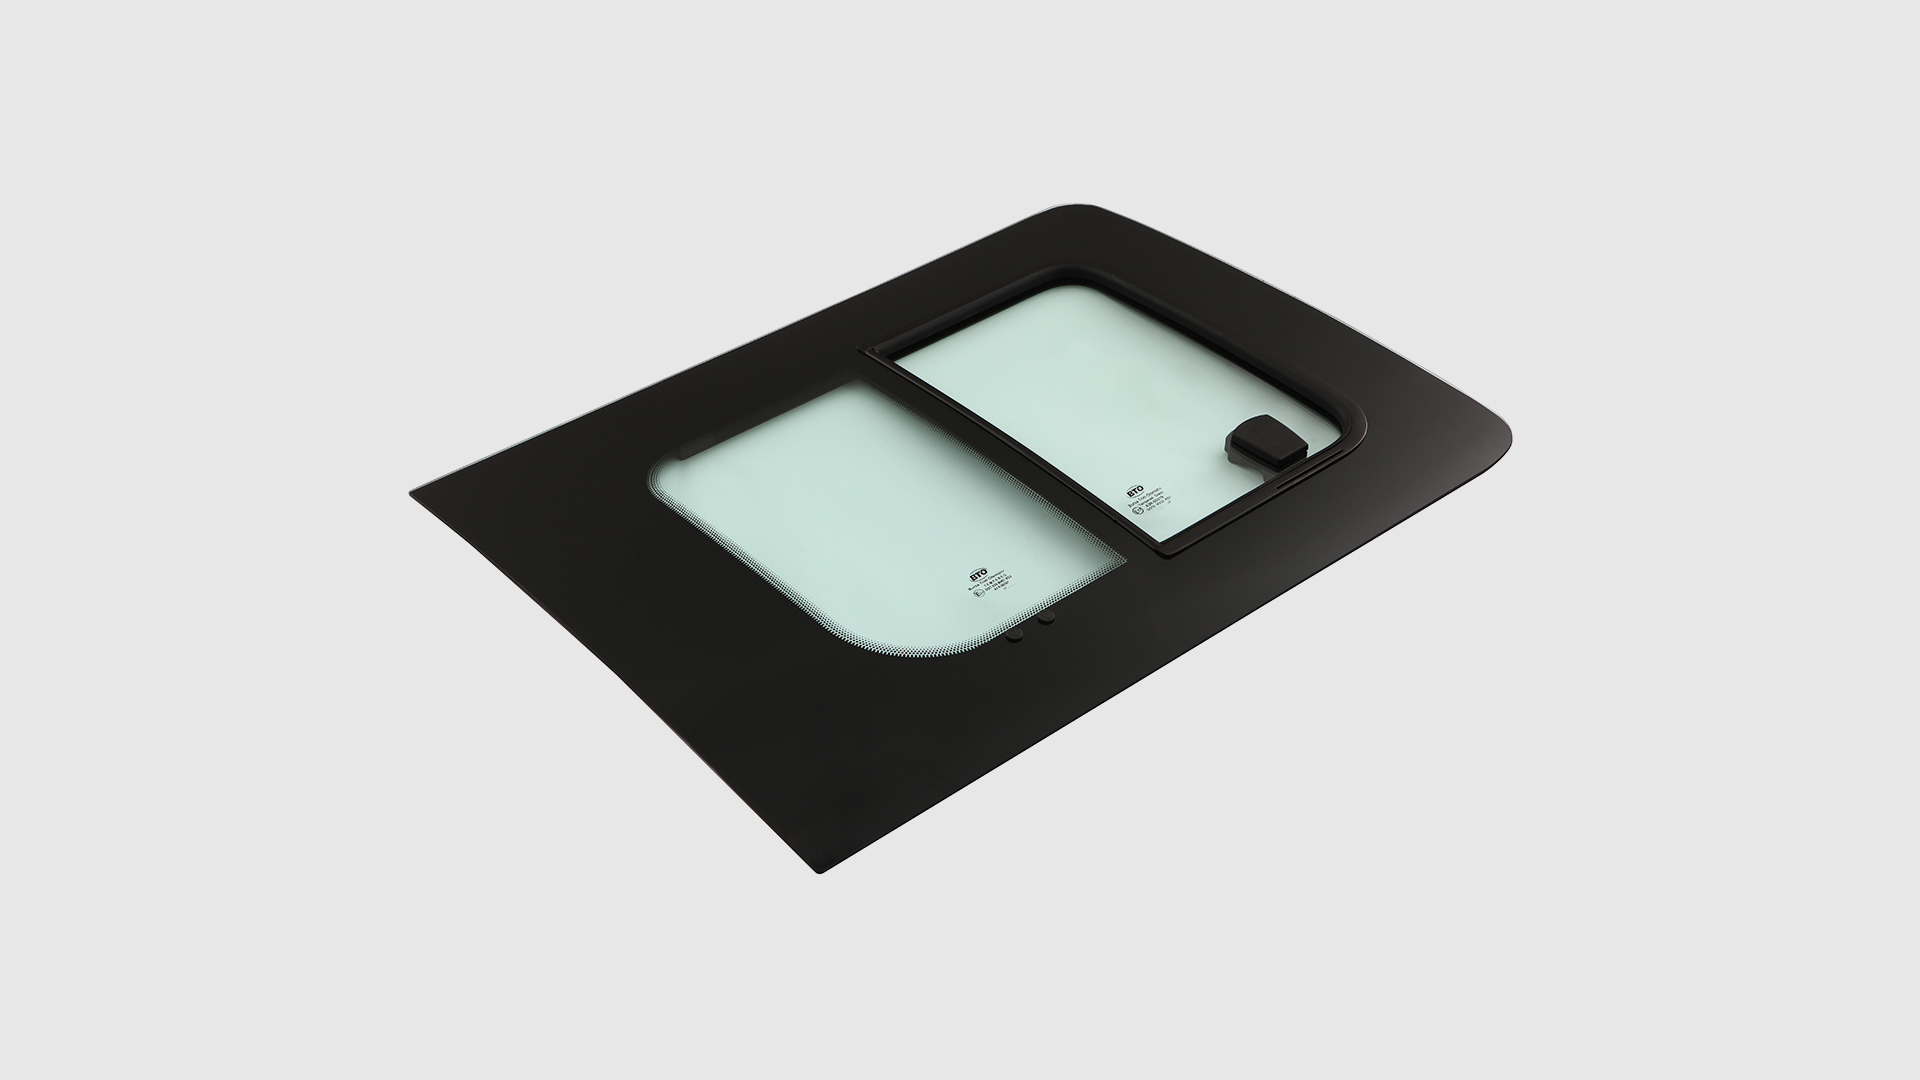
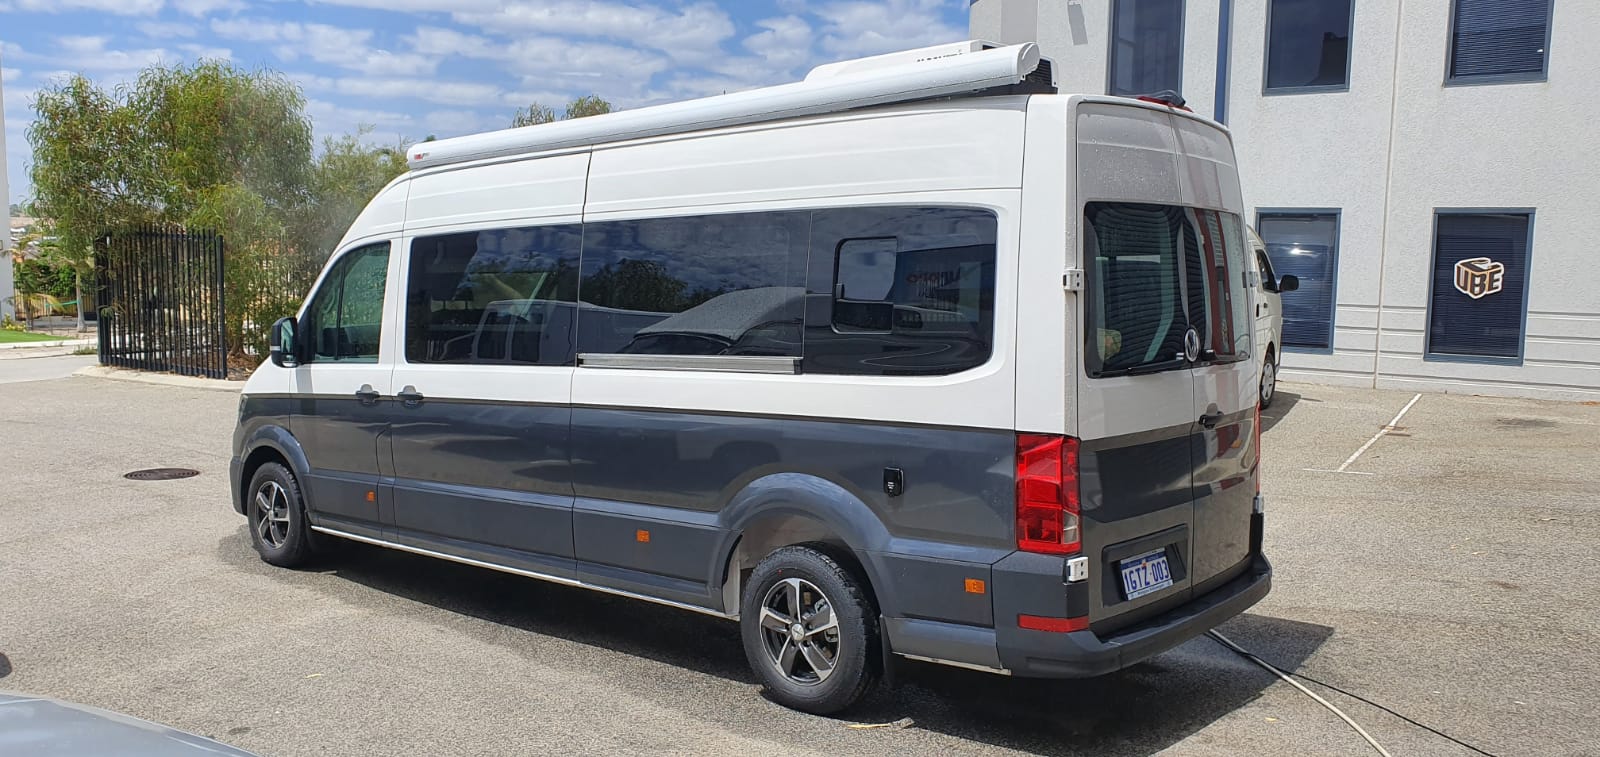
Are you tired of prying eyes snooping around your RV? Or maybe you are tired of feeling like you're in a desert all day long due to the overheated interior of your vehicle? A great solution to both of these problems is to get tinted windows for your campervan. It takes only a few hours to accomplish this task, and the result is a much safer and stylish looking vehicle. This blog is a brief guide on the overall process and benefits of tinting campervan windows.
You can obtain tinted windows in one of two ways listed below.
In this method, the RV windows are tinted in a factory through "Deep Dipping". The glass is tinted into a darker shade by using high voltage electricity. While this method gives off a darker tint to your vehicle, they do not block harmful UV rays from entering and are not effective insulators.
In this method, multiple layers of the thinly compressed polyester material are placed inside the windows. These layers keep off the UV rays and thus offer better insulation, privacy and glare control.
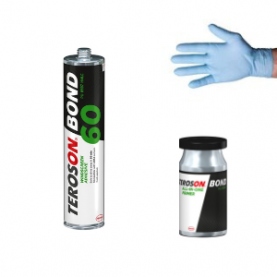
First thing’s first! If you wish to tint your RV windows yourself, you’ll need a set of appropriate tools to get the job done. You may want to add them to your shopping list before you start the process, or opt for a tint kit too.
Now that you have all the necessary tools, here is the step-by-step guide for you to tint your RV windows.

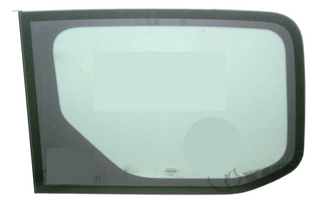
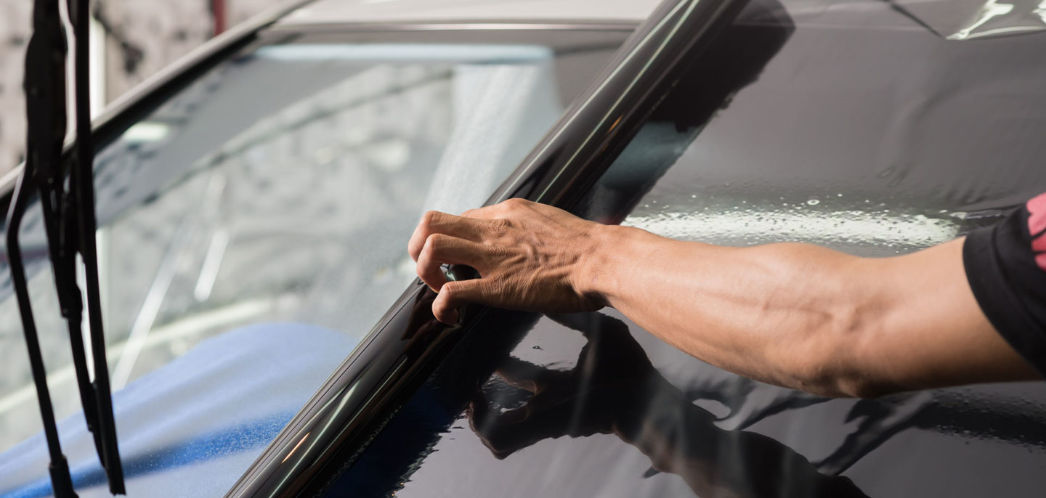
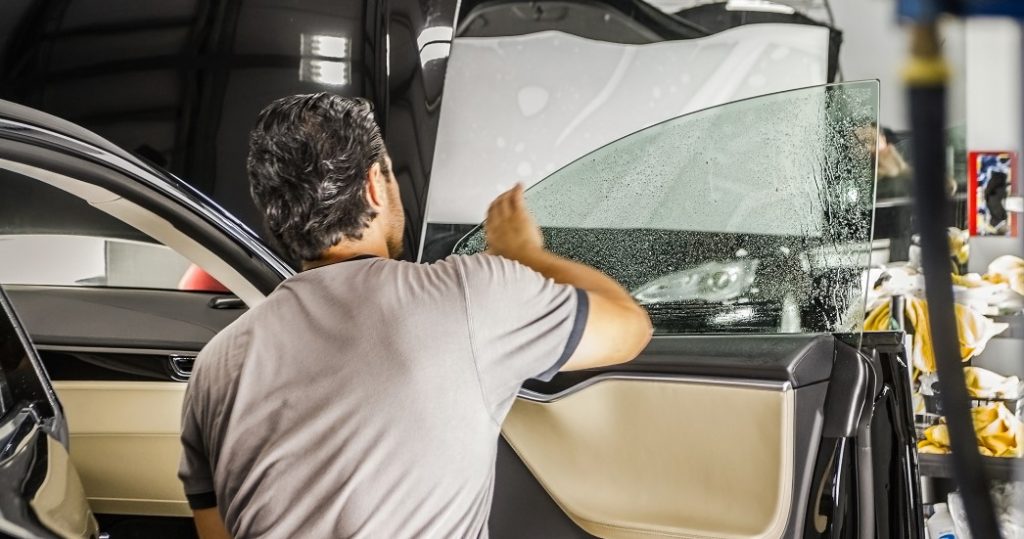
Step 1: Remove the window:
Most RV windows will pop out if you use the proper technique. Lift them at a 90-degree angle and see if they come off. Be careful while doing this, and make sure you have a grip on them as you take them out.
Step 2: Clean the glass.
Clean the glass to get every scrap material and dirt out of your vehicle window. Cleaning the glass correctly is critical to ensuring the adhesive works later on in the process as it should do. You can use an ammonia-free cleaning solution three to four times with the lint-free cleaning rag to make it spotless.
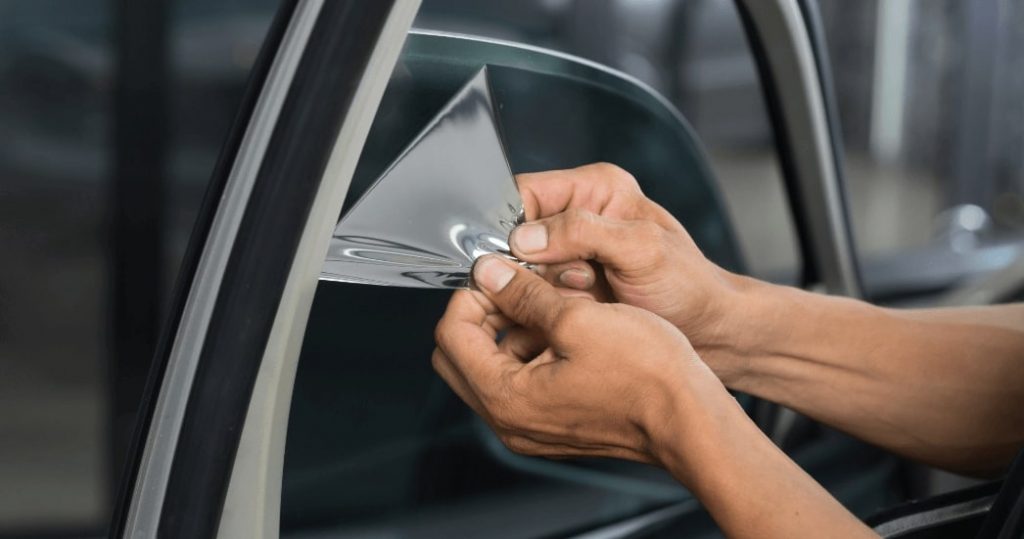
Step 3: Use the solution to wet the surface
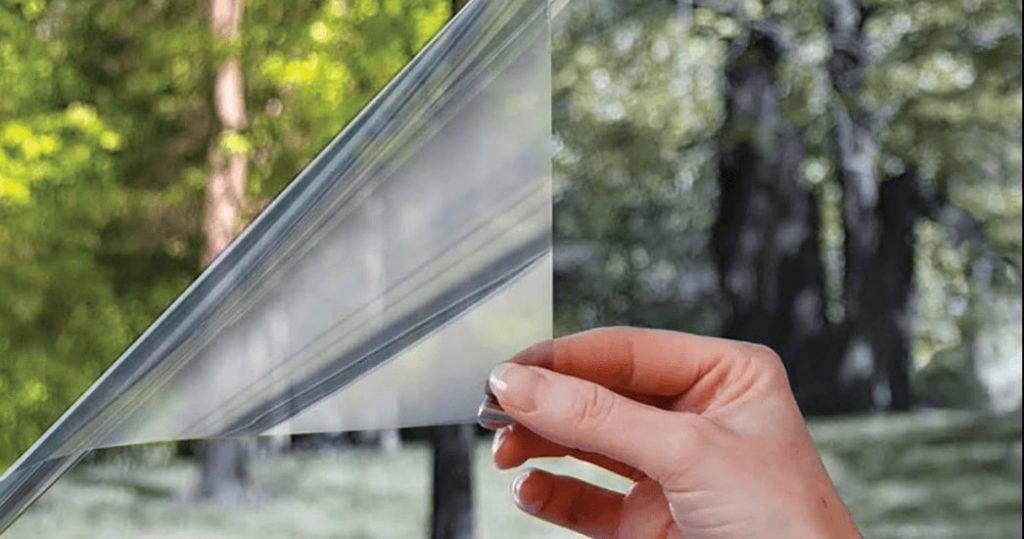
Here you will add a special solution fluid made for the tint. It usually comes with the tint kit itself. Add a few drops of this to the surface. If you do not have this liquid, you can also add a few drops of baby shampoo and water to make the surface wet. Separate the film from the sheet and place it on top of your windows now.
Step 4: Cut and trim the film
Firstly, you need to measure the size of your RV windows. Make sure you have the correct length and shape beforehand. Leave out at least two inches of film on all sides when you add the film on top. You can then use the razor knife and cut out the excess.
Step 5: Smooth out the surface
Use the squeegees that comes with your tint kit, or you can use a scraper to smooth out the area after you add the tint film on top. There are air bubbles below the film that you need to get rid of. Make sure you take your time and remove every last one to give it a premium feel.
Step 6: Allow it to dry.
Once you are done, you can set the window aside for a couple of hours or more. Do not touch the surface and wait for the solution to dry out for the adhesive to be secure.
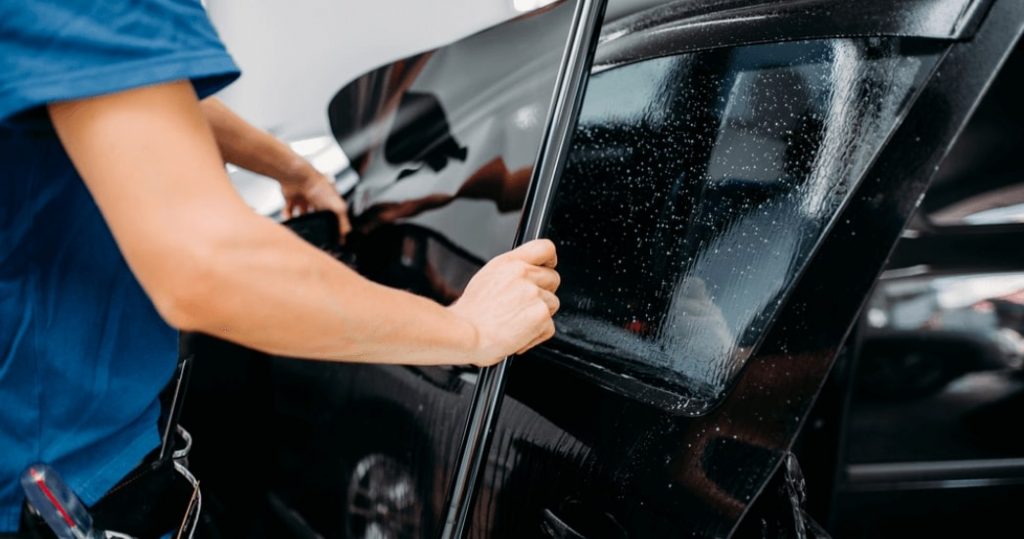
Step 7: Re-install the window
You have now successfully finished tinting your RV windows! You can install them back and enjoy the perks of your hard work.
Some laws dictate the colours and intensity of tint you can choose for your RV windows. The good thing is you can still reap the benefits of tinted windows without them being too dark. You need to abide by legislation in your jurisdiction if you plan on tinting your windows yourself. If not, you can rely on the service provider of your choice.
The most preferred colours range from grey, bronze, and green to a reflective mirror tint. You may also need to tint the rear windows in a different hue of your chosen colour as prescribed by your state laws. If you are not interested in the colour selection or don't want to ruin your RV's looks, you can opt for a transparent film. It blocks 99% of UV rays and offers 50% heat reduction but allows light to pass through it.
The laminate or films that make up the tint films come in different shades and allow a different percentage of light to pass through. The Visible Light Transmission (VLT) factor is an indication of this amount. For example, a VLT of 35 allows 35% of light across it. The lower you go on the VLT, the lesser the amount of light that enters your vehicle. You can only choose the VLT amount allowed by the laws for your RV, which is 35 in the case of most Australian states.
The Australian Vehicle Safety Regulation permits each state and territory to set their limits to window tints. Although most states offer a 35% Visible Light Transmission (VLT) for most vehicles, it is always safer to re-check the laws yourself.
Western Australia tint laws prescribe these guidelines.
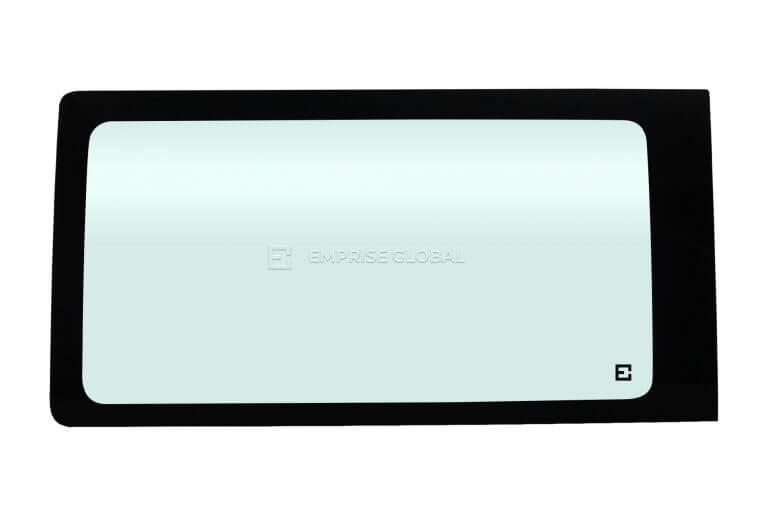
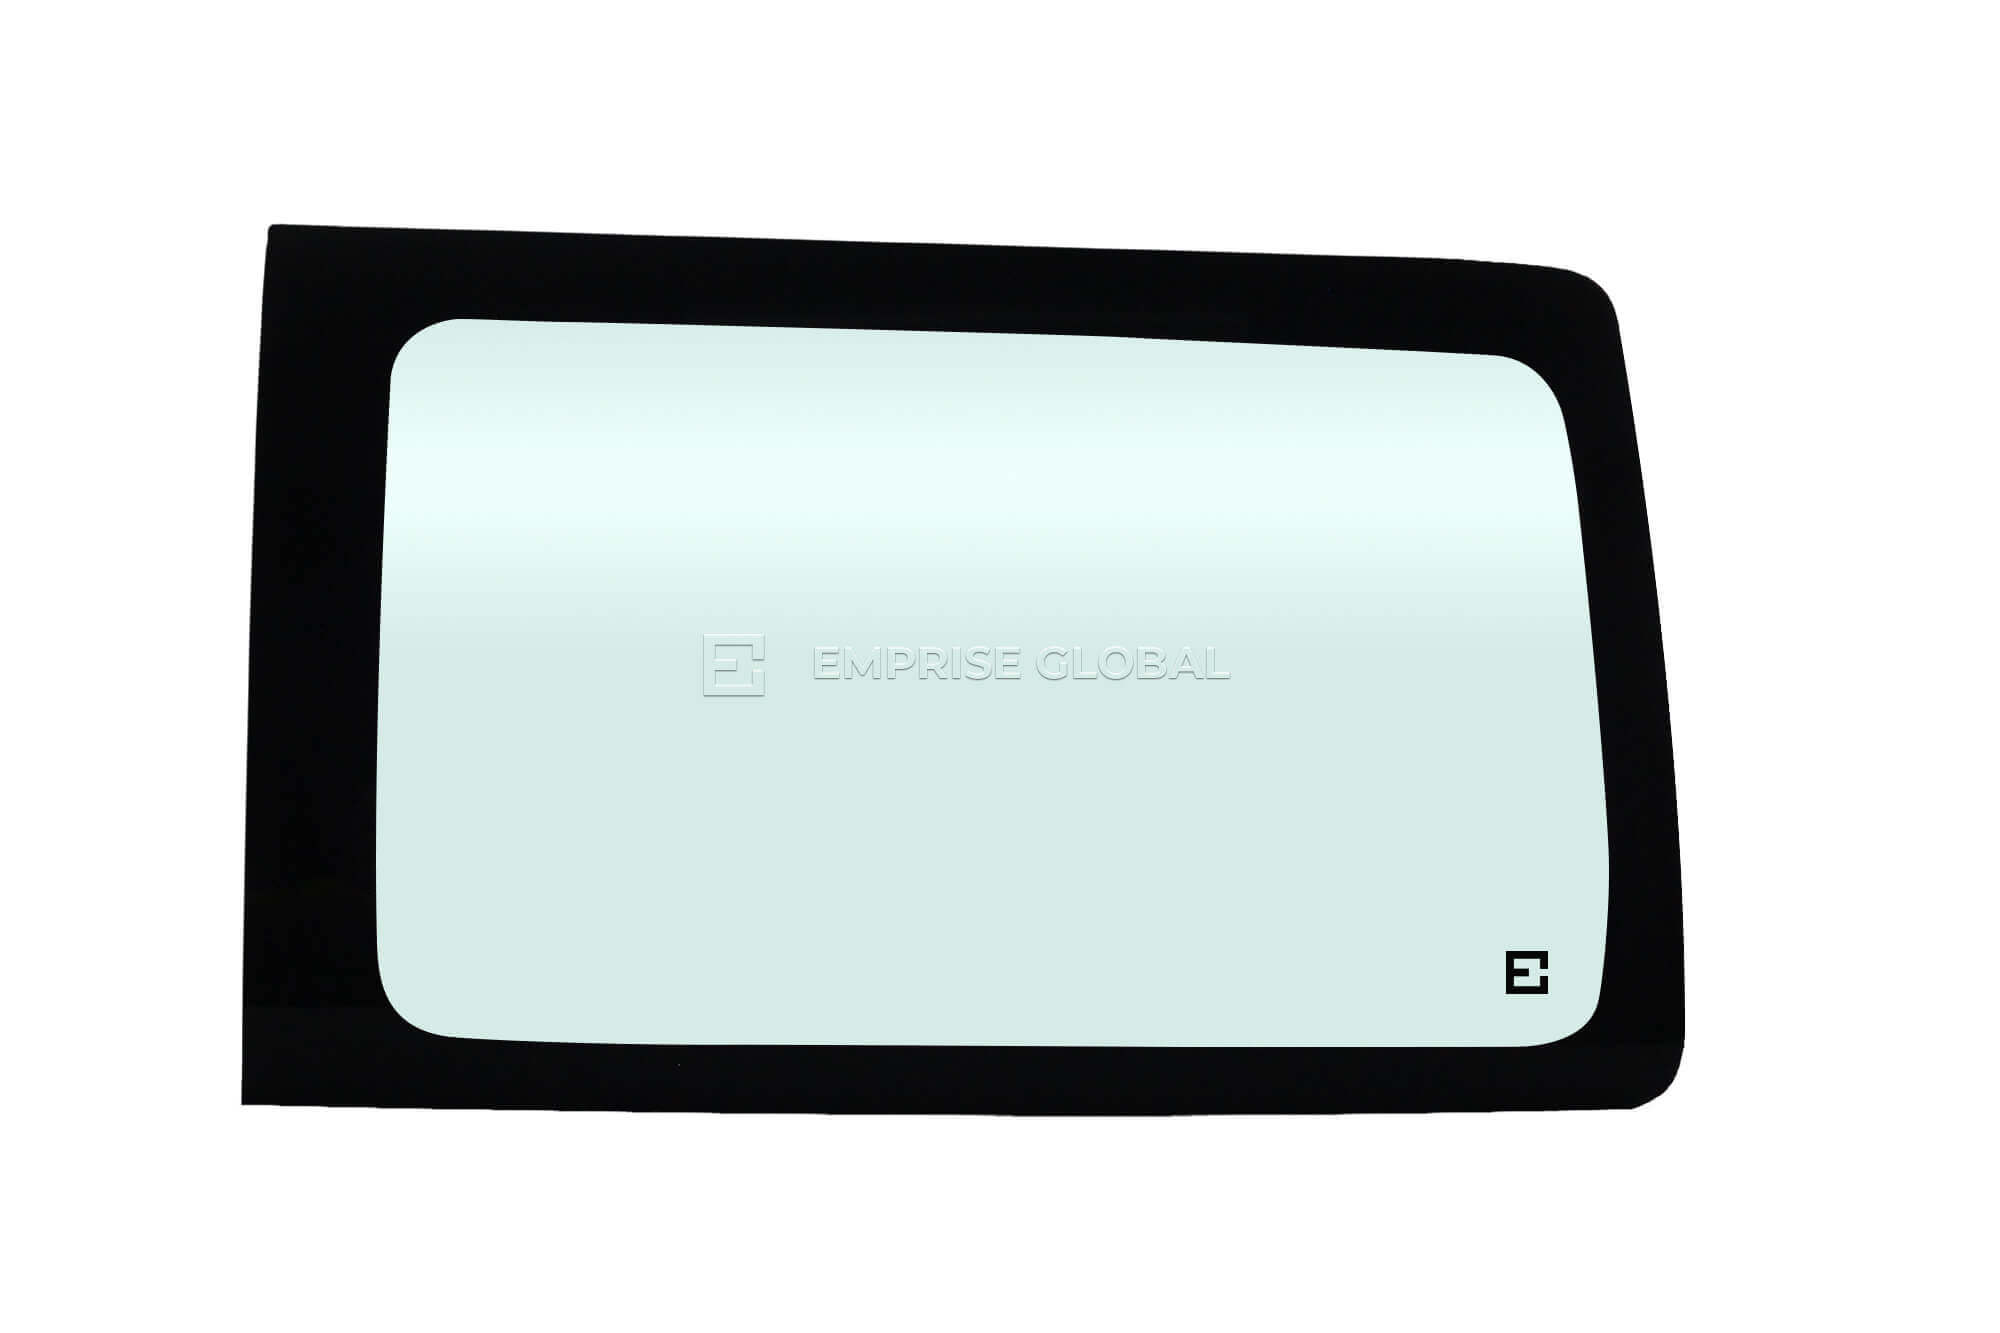
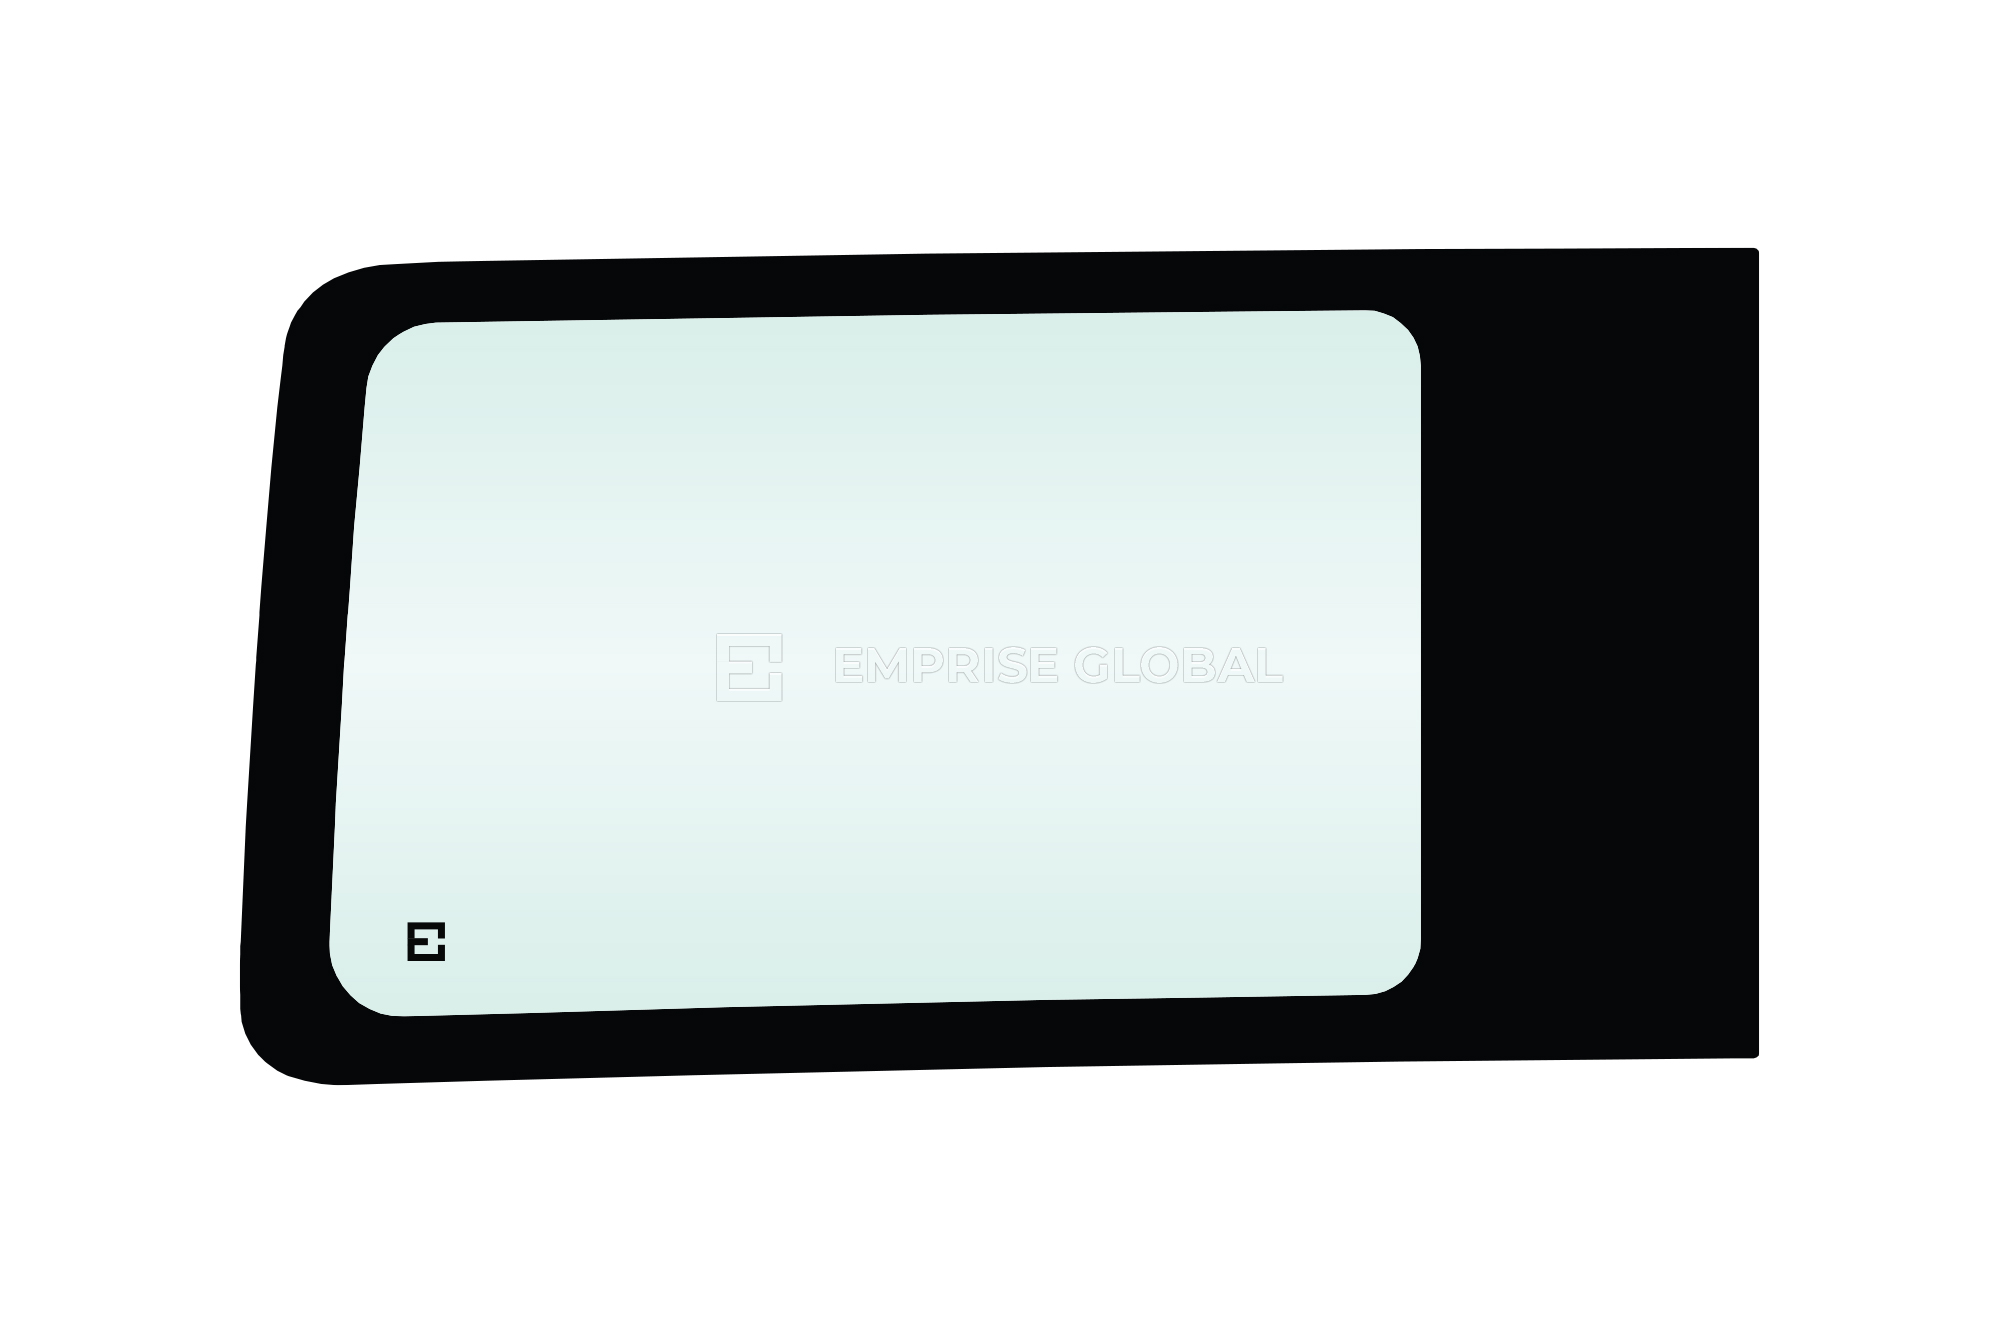
Here is a guide to the best RV window tint options you can choose from.
This film is inexpensive and offers the least functionality among all the other films available. It has a dark tint that blocks most light and offers visibility from the inside but not from the outside. The tinted RV windows from this film tend to fade over time and are usually not well built.
This is a stronger film that offers security and resistance against scratches and breakage. Metals used in manufacturing this RV window film block the UV rays and reflect the sunlight, effectively offering heat resistance. The downside is that metals tend to interfere with electronic devices and radio signals. Thus it may cause issues with your radio and cellphones.
Carbon windows offer a dark opaque black tint and are fade-resistant. They are relatively new to the tinting world and are chosen for their effectiveness in handling harmful UV rays and harsh sunlight.
Ceramic films are the best when it comes to RV window protection. They are made out of ceramic particles and usually are not dyed in any tint. Thus they allow the light to pass through but still offer 99.9% protection against UV rays and 50% heat resistance. Ceramic window film is the most expensive film available in the market.
Some companies offer custom made RV window tint films that offer red or even a silver hue with different undertones. Though this may seem like a fun choice, you may need to check and comply with your state laws.
When you get the RV windows tinted, they act as a layer of protection against prying eyes. The darker film will block natural light from entering the window, thus allowing lesser visibility from outside. You can be safe from burglars and keep your privacy intact as you enjoy your travels.
The tint is a particular type of laminate that reflects sun rays and keeps the interior from heating up. This helps to keep the inside of your RV cool, even on hot summer days, no matter where you are travelling. Depending on your tint's VLT number, you can control the amount of sunlight that passes through your windows.
Your skin is prone to sunburn from the harmful UV rays while you drive. The unforgiving Australian sun can be especially harsh in the summer days, even leading to skin concerns like cancer and ageing. Simply adding a darker tint to your RV can block out most of these harmful UV rays to keep you safe.
Australia has one of the worst sunlight conditions globally, capable of damaging almost every vehicle’s interior. Prolonged exposure to sunlight can damage natural yarn, leather, vinyl and fabric that makes up furnishings and upholstery. Save yourself from experiencing the issue by simply tinting your RV windows.
An invisible film covering the tinted laminate offers an invisible coat of protection against cracks and scratches for your RV. You can choose the material and get a high shine glossy finish on your vehicle to give it a premium look.
Glares from reflected sunlight or the headlight of other vehicles can be a big distraction while driving. This is a known hazard for the road and can cause major accidents. You can reduce glare up to 96% by tinting the top of your windshield by installing a transparent ceramic window tint for the RV. They block UV rays effectively as well.
Tinting your windows is a cost-effective way to improve the overall aesthetics of your RV. If you want to save time and money, you can also take this up as your weekend DIY project. Once you are done, you will notice a significant improvement in the appearance of your vehicle.
RV window tinting can be a fun DIY project for you. You can go through the steps we listed initially and watch a few videos to get an idea of the process. It will also be a lot cheaper for you to do it yourself. A typical RV has windows of varying sizes and shapes. This poses a big problem for anyone who is not good with accurate measurements. You must keep at least 50 mm of extra film on all your windows to make adjustments if needed. Be careful with the use of the tools while installing your tint. And if you follow all the steps correctly, you will save yourself a considerable amount of money. If you feel inadequate to do this, find a vendor to help you avoid making mistakes and save yourself from the hassles.
Emprise Global is your one-stop solution for all your travel accessories needs. With over two decades of experience in the industry, we guarantee the best customer service with unbeatable prices every time! Contact our dedicated team today to find out about our range of products.
READ THE LATEST FROM EMPRISE GLOBAL FOR GUIDES & TIPS

Embarking on a remarkable journey through Australian roadways for over two decades, the Renault Trafic stands as a beacon of...
Volkswagen Crafter Campervan Are you an adventurous soul with a passion for road trips and outdoor exploration? If so, converting...
SOME PRODUCTS YOU MIGHT BE INTERESTED IN


Enter your login credentials to continue shopping