A complete step-by-step guide on resealing and replacing your RV window
The most fulfilling DIY projects are often those we have zero experience with. This is distinctly true for tasks that appear to be quite complicated at first glance. Replacing an RV window or resealing an RV window glass certainly seem like tasks that might be beyond our capabilities, especially if we have never done it before. Still, aversion to repair shops is a standard trait among full-timers, perhaps because of the substantially higher cost of having someone else do the job (labour often costs more than the parts). Not to mention, repair appointments can also take a day or two.
Fortunately, replacing an RV window isn’t the kind of job that will take you days to complete. Moreover, replacing or resealing an RV window is a straightforward job, perfect for DIYers, even if you have never done it before. Replacing an RV window is also a great starting point for DIY projects for campervan users looking to develop their handyman skills.
Broken RV windows, or fogged window glass, are inconveniences whose bothersome discomfort can be felt immediately. With no proper window, You can’t regulate the interior temperature of your RV. Broken windows are also openings for bugs and pests to hitch a ride on your vehicle, and overall- it is a security risk when you are camping out in the wilderness. Window repair is a useful skill to have, and learning it can add appeal to your prowess as an RV owner.
Items You Will Need to Replace an RV Window
Overall, the removal and replacement of an RV window do not require too much equipment. You can remove an RV window with simple tools, such as a screwdriver, a replacement window pane (or plexiglass for temporary replacement), gloves and someone who can lend you a hand with the task.
Additionally, if you’re expecting the glass to break, you might want to have supplies to clean up the mess, such as a garbage bag, broom and a dustpan. They are useful not only for containing any broken glass but also for preventing you from getting injured. Never attempt to pick up pieces of broken RV window glass by hand.
How to Replace the RV Glass Window?
Armed with the necessary items, you can get started on replacing the window. Be wary of the fact that if you have a newer RV, you may be able to get a replacement window before starting the project. But this process can be tricky with older RV models. In that case, you’ll have to remove the old window first to take measurements and order an accurate replacement. In any case, follow the steps below to proceed with the task-
Remove the Old Window
Before doing anything else, you will need to take out the old window. If there are cracks in the glass, have trash bags ready to catch any fallen pieces from getting into the RV. Make sure that you are wearing protective gloves for safety, even when you feel like the glass is unlikely to fall apart.
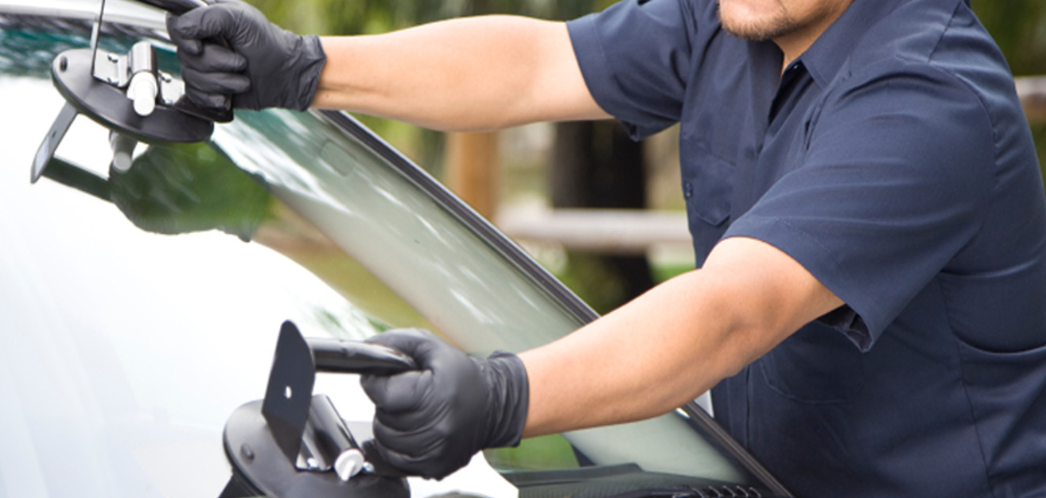
To remove the window, use your screwdriver to peel off the rubber gasket from the outside of the pane’s outer edge. The screwdriver can loosen the gasket from the split and then you can pull it off. Then, if possible, remove the inner gasket as well. On the inside of the window, carefully remove the mounting screws, having your helper keep the pane steady. Slowly take out the plastic frame mount, being careful not to let the windowpane fall. Lastly, pull the window glass towards the outside of the RV and set it on the ground.
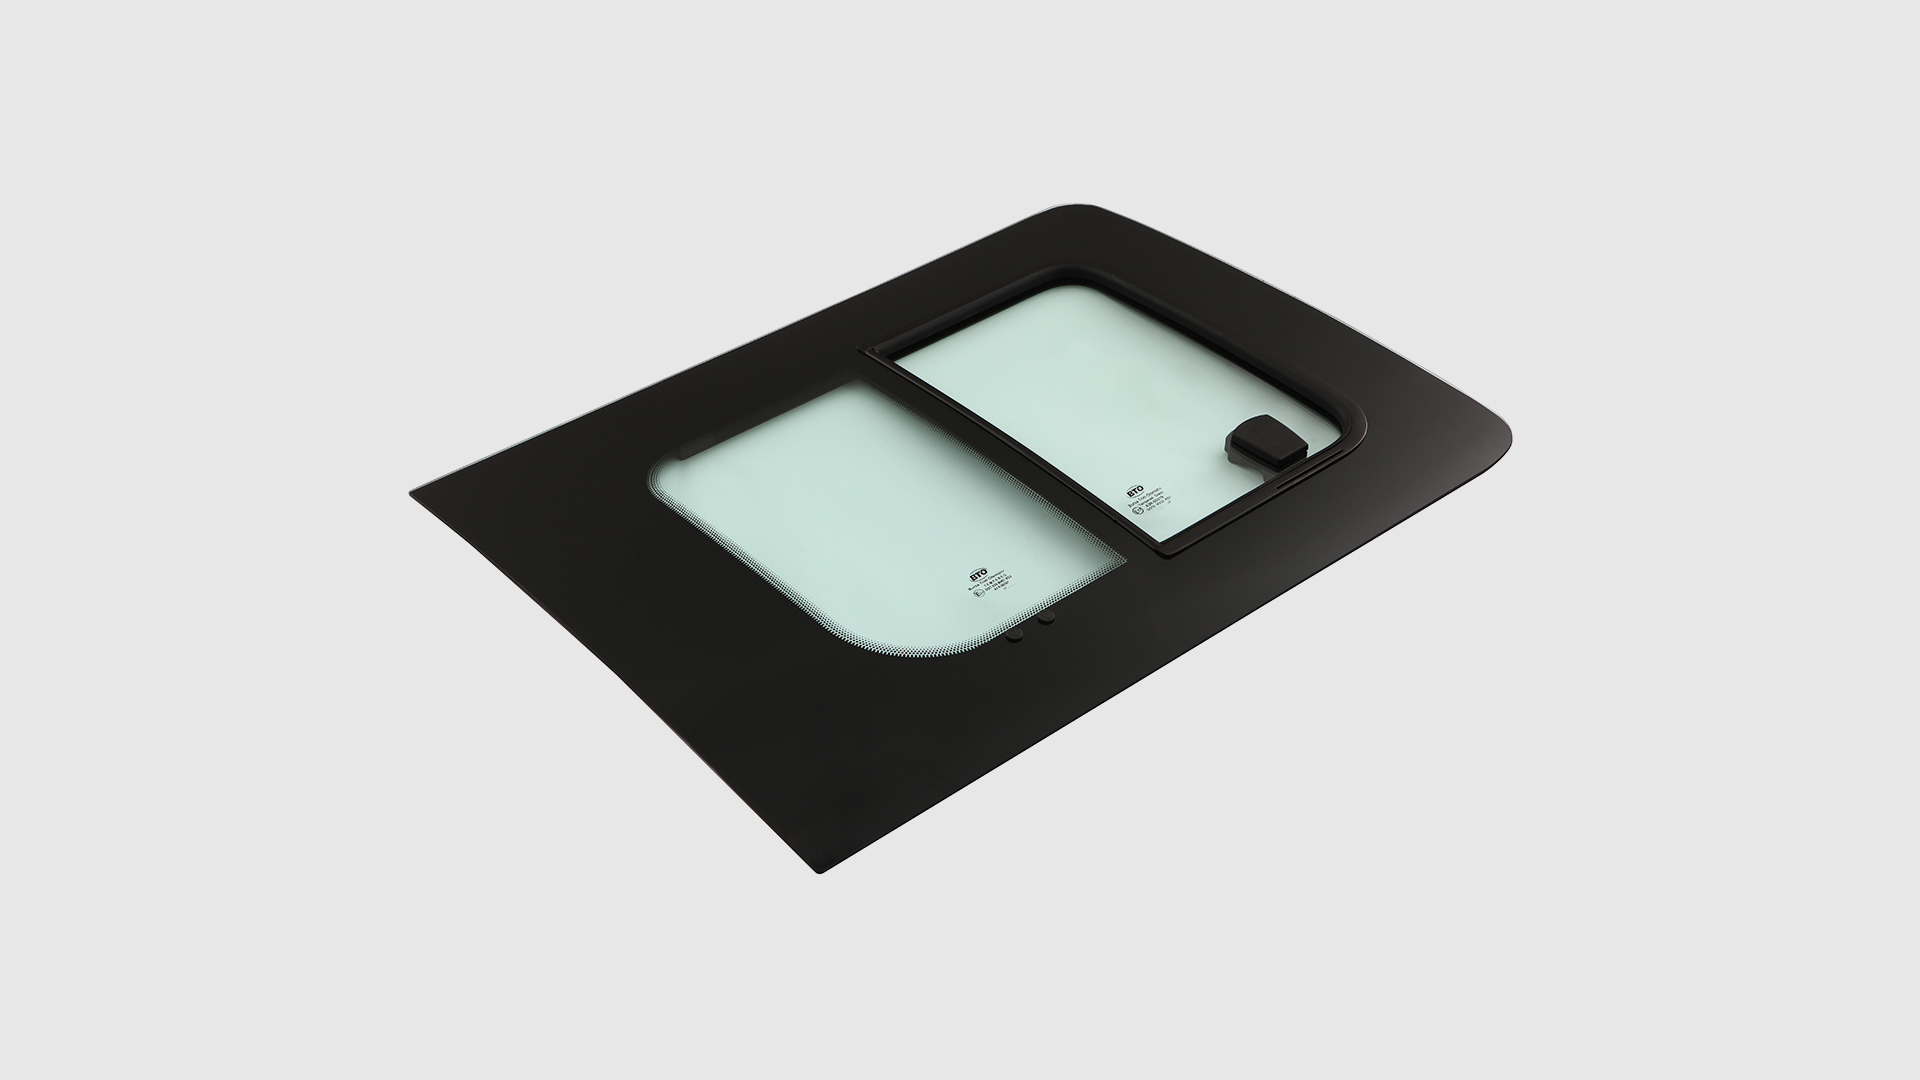
You can use this process to remove two-piece windows as well. Connected by a secondary frame, the two-piece windows will come out together, even as you take out the larger plastic frame mount. You do not need to separate the individual pieces to remove them from your RV.
Measure the Window Opening
After taking out the old window, it is time to take measurements. While your first instinct may be to measure the windowpane, you will actually want to focus on the window opening itself. You need these measurements to be as accurate as possible, so it would be beneficial to measure at least twice and keep everything to the nearest 0.5 to the 1-centimetre range.
The shape of the window determines the measurements you will take. For rectangular windows, you only need to measure the height and the width of the window. For parallelogram or trapezoid-shaped windows, you will need to measure each side and the length between opposite corners for a total of six measurements. Keep an accurate note of your measurements so that you can find appropriate replacements.
Measure Sidewall Thickness
After recording the rough window opening dimensions, you will have to measure the sidewall thickness. Aside from the right surface area, you need to have a window that is thick enough to fit into place.
To ensure the right measurement, measure from the inside of the RV to the outside. You don’t need to include your window frame in this measurement. On average, sidewalls are between two to seven centimetres.
Measure the Corner Radius
Most RV windows have rounded corners, and you should measure the corner radius if your RV has it. Although most windows have a corner radius of 6.3 cm to 7 cm, you still need to measure them out for accurate results. However, if your campervan has square corners, don’t worry about it!
You can use a compass to draw your own template or print one out. The goal is to have a circle that has an outer radius of 7 centimetres across, as well as a smaller circle with a radius of 5 centimetres across. If you are making your own, you can put the 6.5-centimetre circle inside the larger one.
Once you have your circles, hold them up to the visible curve of your window's rough opening. See which circle's curve most closely matches up with the edge. Whichever one does determines your corner radius, and you can add it to your list of measurements.
Get a Replacement Window
Now that you know the dimensions of your window, you can work on purchasing a replacement. Some RV maintenance shops will be able to get a new window for you. You can also have a custom order of a pane that can fit your RV.
If you are on a budget, it may be cheaper to get a custom window made rather than purchasing a ready-made one. Be aware of your RV insurance policy as it may not cover certain window replacements. Thus, it is advised to do your research before committing to a purchase.
You can also set in a temporary plexiglass window until you can get a replacement.
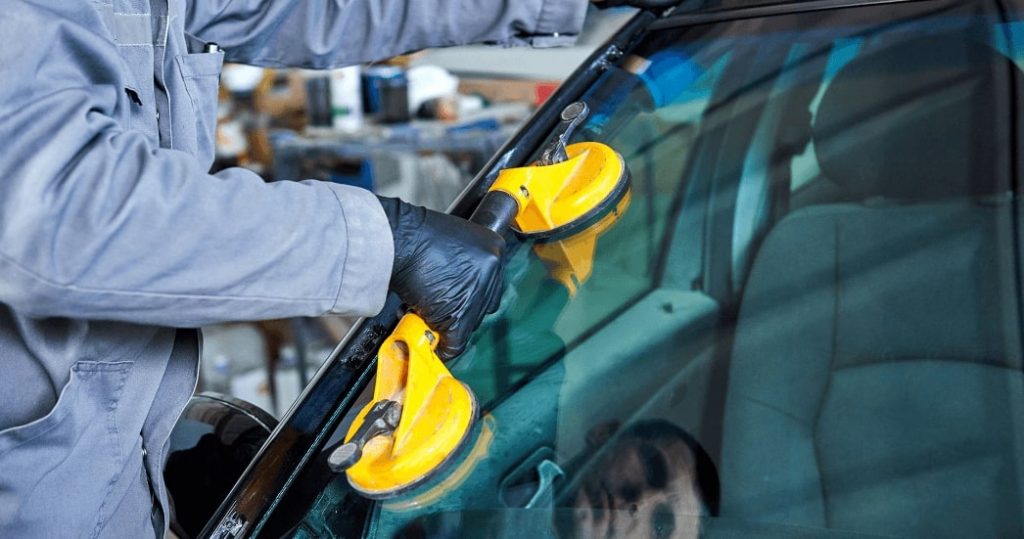
Put in the New Window
Once you have a suitable replacement window, you want to set it in place. To do so, have your helper hold the window in place. Smoothly place the plastic frame back around the windowpane and screw back in the outer and inner mounting screws. After doing so, insert the rubber gaskets, starting from the inner pieces and then the exterior, if applicable.
Once you've put everything back in place, you will have completed all the steps of how to replace RV window glass.
Making a Temporary Plexiglass Window
In some cases, you may not be able to find a replacement window. In this case, you can potentially cut out your replacement from plexiglass. While you won't be able to keep the temporary plexiglass replacement in place forever, it can still prevent glass shards from falling into your living area and help keep inclement weather at bay.
To do this, follow the above-mentioned steps up by taking the measurements. Once you know the dimensions of your window, you can cut the plexiglass into the shape you want according to the measurements. When cutting plexiglass, leave the film in place as long as possible to avoid scarring the surface. Bear in mind that it can be difficult to cut plexiglass without leaving a rough, irregular edge, no matter how careful you are. If you prefer a clean edge, expect to devote energy to smoothing the finish. Nonetheless, simply cutting plexiglass to size is comparatively easy. You can put it into your opening until you can find a proper replacement. While this is suitable for handling side windows, you will need professional repairs for a busted windshield.
How to Reseal an RV Window?
If your RV window is leaky, then you can follow the reseal procedure to solve this problem. The water coming in from the outer edges of the window can be a hassle, but you can simply reseal the window to stop this issue. Resealing, much like replacing, is a fairly simple procedure, and it can make a world of difference to have a leaking window fixed for your RV. You won’t need a lot of stuff to get the entire window removed, cleaned, and resealed either. Most of the necessities can be things you already have on hand in your RV. Nonetheless, the sealing tape is something you will likely need to purchase, but even with that, the cost of resealing is relatively low and within your budget. You will need-
Screwdriver: that fits in the screws of your RV window.
Putty knife: if you don’t have one available, you can use whatever you can for a scraping tool, even an old credit or gift card can come in handy.
Rags: you can use whatever you have in hand, even paper towels work.
Cleaner: you can use whatever cleaner available to you. Dish soap will also work.
Butyl Tape: This is used for creating the seal. You will need to measure the perimeter of the window to see how much you will need and add about 10 to 12 cm
Caulk: If possible, choose caulk in a shade that will blend in with the exterior of your RV. You don’t necessarily need a caulking gun.
Steps to Resealing An RV Window
1. Take Out the Screws
Before you can remove the window itself, you need to remove the screws. Before you start, have another person in a position right outside the window, standing on a ladder if necessary, to help remove the window and have them in place while removing the screws. Unscrew the screws that are holding the window in place. Store them away where they won’t roll away and are easy to access again when you’re ready. Small Tupperware containers are perfect for this.
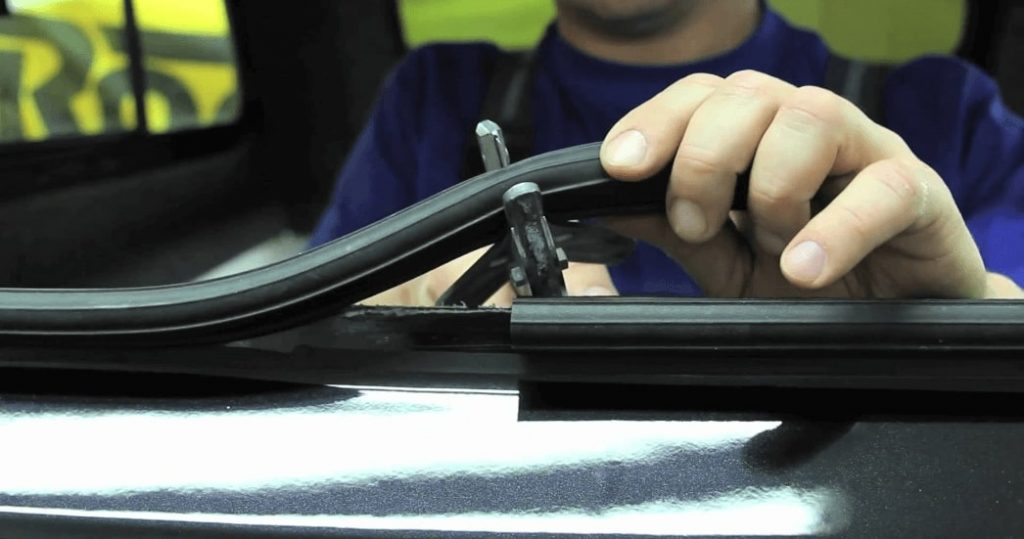
2. Peel Off the Seal
Gently pull back and peel off all of the old sealants. You don’t need to salvage this, so you can go ahead and throw this in the garbage.
3. Scrape off Buildup
Gently scrub away any debris around the window, including the walls on the outside of the RV, using the cleaner or soap and towels. Clean the buildup around the window opening, as well as the residue on the window itself. There can be some gunk stuck in some of the overhangs on the non-glass parts of the window. You will want to get rid of anything that could possibly be in the window seal areas too. A clean smooth surface allows for proper adhesion of the seal and prevents future leaks. You can use the putty knife if you come across any stubborn spots that refuse to go away.
4. Dry the Window
Make sure the window and surrounding area are dry. Leaving any dampness will trap the moisture into your seal with no escape. Leaving behind even a trace of water can cause water damage and result in foggy windows.
5. Seal with Butyl Tape
Measure out a piece of tape that is a little longer than the actual length you need. You will need to trim it later, so keep that in mind while measuring. Leaving about five inches of excess should be plenty. Then, starting at the bottom, work slowly upward, attaching the Butyl tape around the window to create a new seal. The tape should be partially inside the RV as well to create a tight seal for both the interior and exterior. The seam of the tape should be at the bottom; try to make it fit together as much as possible. Leaving the seam at the top can leave a weak spot in the seal, which could lead to future leaks.
Making your way around the edges of the window, pinch the inside and outside together to get the tape firmly stuck in place. Make sure to press the top of the tape into place and on the thin wall where the window opening is. The tape should be smoothed into place, with absolutely no gaps.
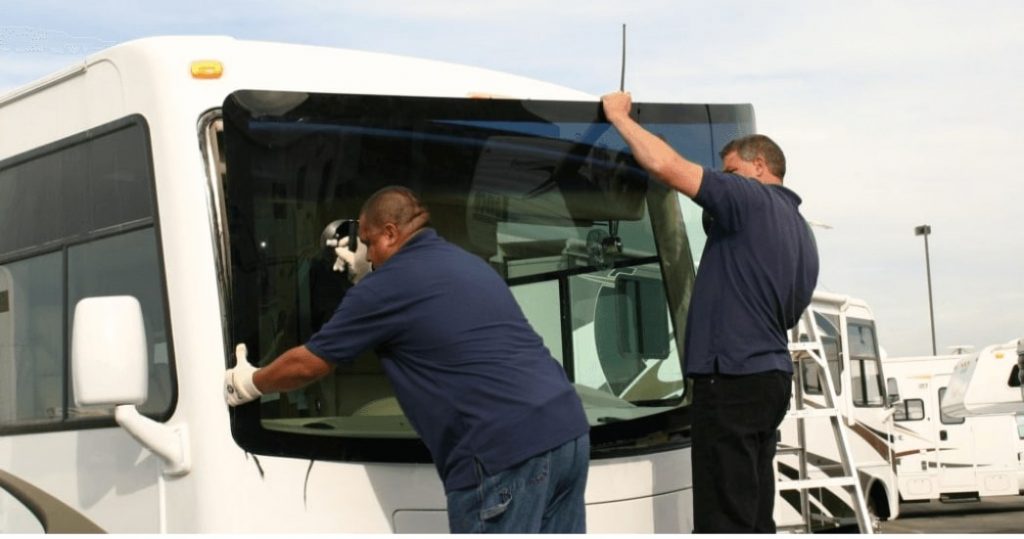
6. Replace the Window
With one person inside and one outside, carefully hoist the window and set it into place. While positioning the window, pay special attention to working around the seal. Although the butyl tape should be firmly stuck in place, you don’t want to risk any extra jostling that could loosen or weaken the seal.
7. Replace the Screws
Even though the window should be held in place by the RV wall, you still want to ensure it doesn’t fall out. Accidents happen and they always seem to be at the most inconvenient times. So screw in your windows for extra safety.
While your partner is outside the RV holding on to the window to prevent it from falling out, start replacing the screws. It is best to work in opposites, so if you start at the bottom left, your next screw should be on the top right. By doing this, you’re securing each side of the window, and preventing the window from falling out.
Once you’ve put in all of the screws, your partner is safe to let it go.
8. Caulk the Window
Just like the butyl tape, start at the bottom just in case there are any gaps left. It is relatively harder to leave a gap with caulk, but it is better to be safe than sorry.
Slowly, work your way upward around the window, evenly applying the caulk. Once you’ve circled around the whole window, smooth out the caulk with your finger. Make sure there are no air bubbles. Let the caulk dry according to the time on the caulk container.
In conclusion, resealing or replacing the RV Window is relatively easy. Proper maintenance of your campervan is important as an RV, after all, is more than just a vehicle. It can be an office, kitchen, hostel, safe room, reader's nook, vacation cottage, and for many- it is home. Preventative care and maintenance can keep costly repairs of the RV to a minimum.
OUR LATEST BLOGS
READ THE LATEST FROM EMPRISE GLOBAL FOR GUIDES & TIPS