Installing or replacing an RV window is a daunting task that most usually leave professionals to deal with. For those who have zero experience, it may seem like something that requires expertise and experience. While we do agree that professionals with decades of experience behind them are definitely a better choice when it comes to long-lasting results, it is possible to successfully pull it off yourself! The process is easier than you might think! Even with basic knowledge on how to use certain tools, a successful installation is possible. So, for those who are planning to do it themselves, in this article we specifically wanted to get into the details to help you understand, plan and implement each step towards a successful RV window DIY installation.
1. Custom Window Order
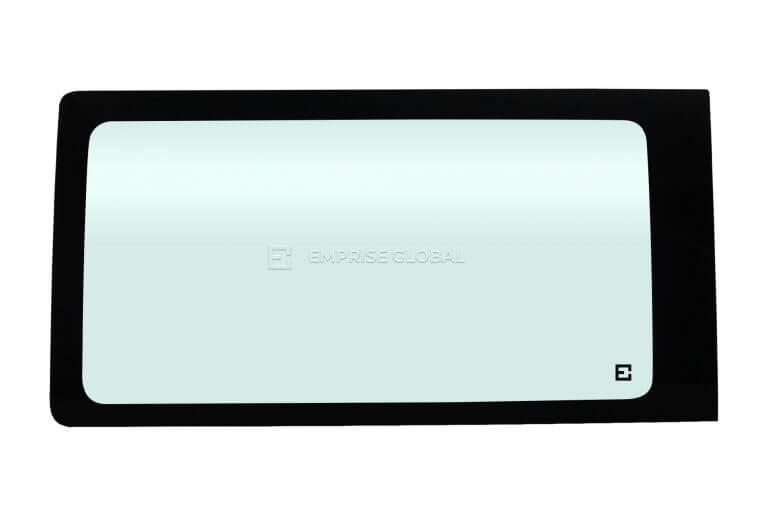
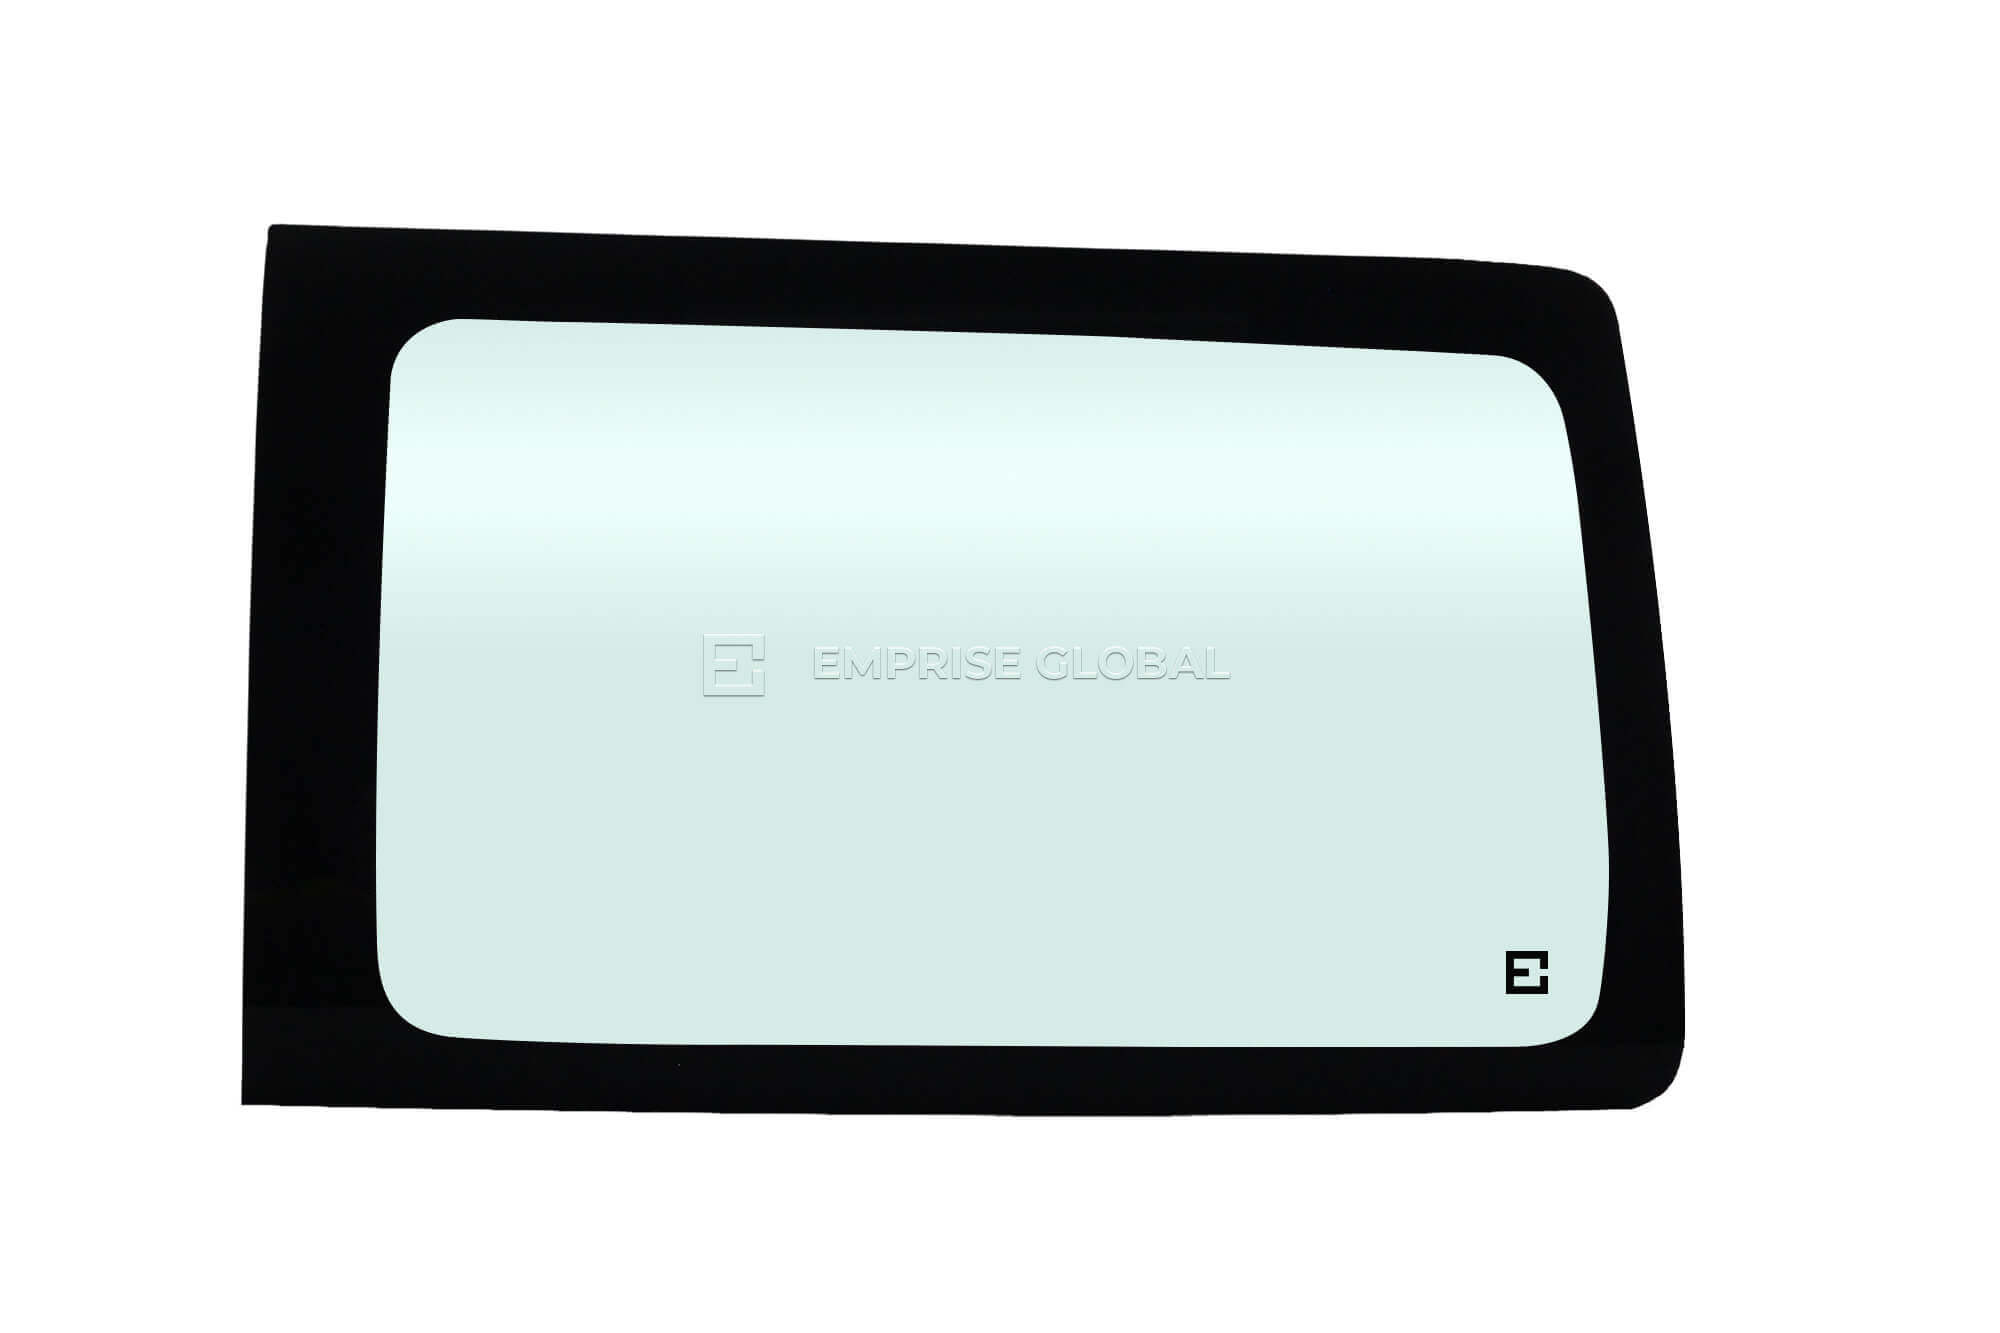
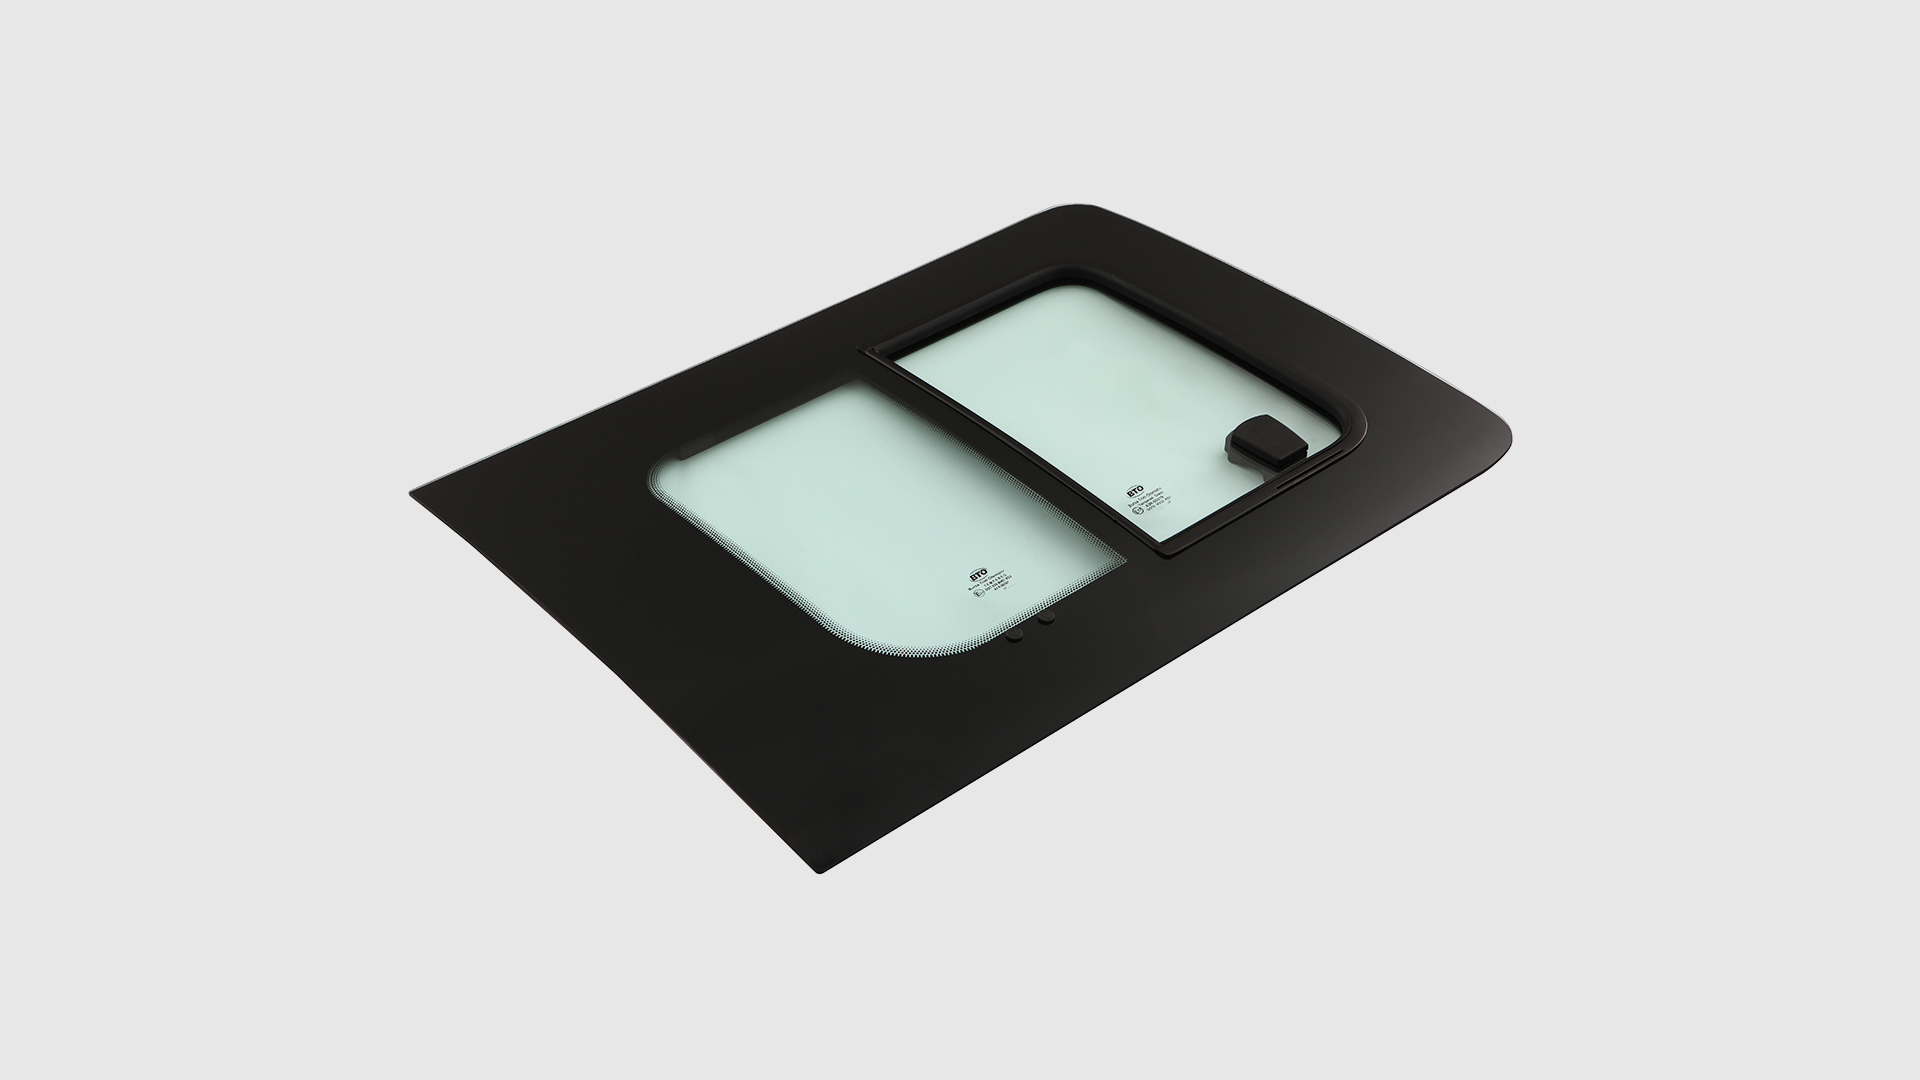
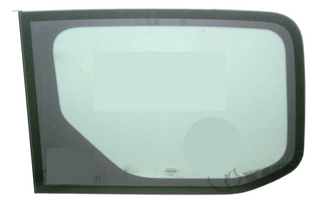
The first and foremost requirement before you start installing an RV window is definitely finding the right one for your vehicle. Getting the wrong size or wrong brand will end up in a problematic end result. Therefore, finding the RV window that fits just right and allows all the necessities at your disposal is the key to a successful RV window installation. Here’s a pro tip! Find professional suppliers who deal with an array of brands and custom sizes to ensure that you get the ideal fit.
EmpriseGlobal with over two decades of expertise in quality service in RV windows and accessories is definitely a great partner for this project. With an extensive range of brands and products featured, you will find name brands like Mercedes-Benz, Ford, Volkswagen, Toyota, Fiat, Renault, Hyundai, Citroen, Peugeot and plenty more. It is easy to browse through the collection and find the size, brand and model of your vehicle. This allows even the beginners who lack the technical specifications to find the right one with ease. No need to hustle through each auto parts shop just to get the wrong one. Just a few clicks and the RV window of your preferred make and finish will be immediately dispatched for delivery.
2. Preparation
Once you receive your custom fit RV window, the next step is to start preparing for the installation. Before you get started, you need to ensure that everything you need in the process is at your side. Especially when you are working on installing the RV window alone, placing every tool at your hand’s reach is a good idea instead of running out every time you need a different tool. Most replacement RV windows come with interior trim rings, putty tape and screws to help mount the window in place. Here is a quick list of tools that will come in handy in the next process:
Screwdriver
Scraper Tool/ Flat Head Screwdriver
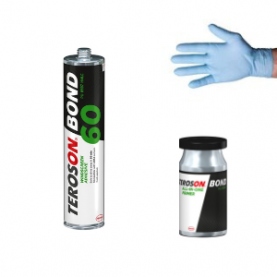
Sealant (Preferably Silicone)
Measuring tape or ruler
Spray Bottle of water
3. Window Removal
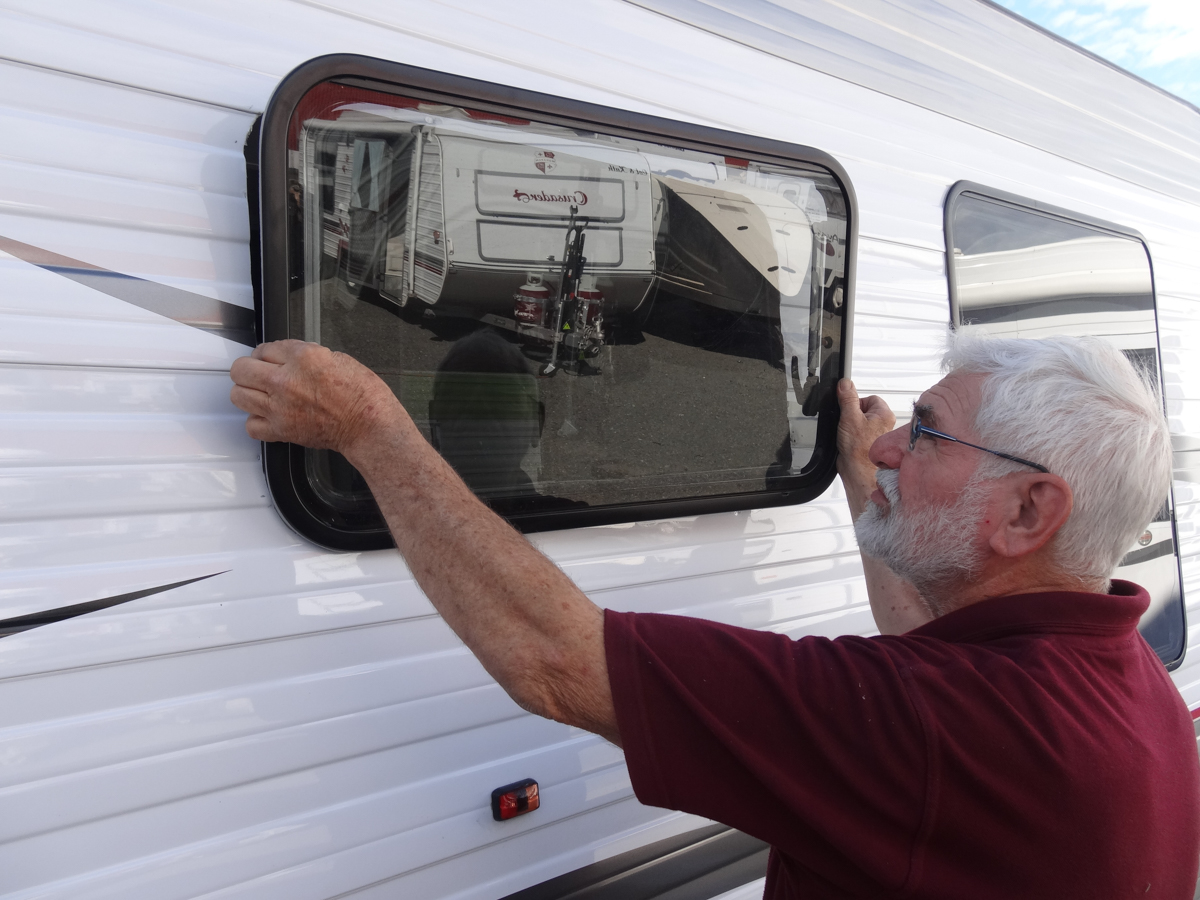
For those who are looking to replace or repair the RV window, this is the next step. If you are installing a new one, then you can move on to the next step. There are possibly 10 or more screws that hold a window trim ring in place. Start by removing any drapes or screens in place. Next, take off any window handles etc, and start removing the screws inside using the screwdriver. To avoid any accidents, make sure you get your helper to hold the window up before entirely removing all the screws. If you are working alone, just use tape to hold the window while you remove the last few screws. Doing this allows you to ensure that the window you are working on does not fall down and break.
Now, move outside the RV and carefully pry out the window and place it safely on the ground. If there is putty or caulking that is still holding the window in place, you can use the putty knife/ scraper tool to scrape it out and work the window loose. After you have pried out the window, you can work on removing any remaining sealants to ensure a clean and smooth surface to work on using methylated spirits.
4. Window Installation
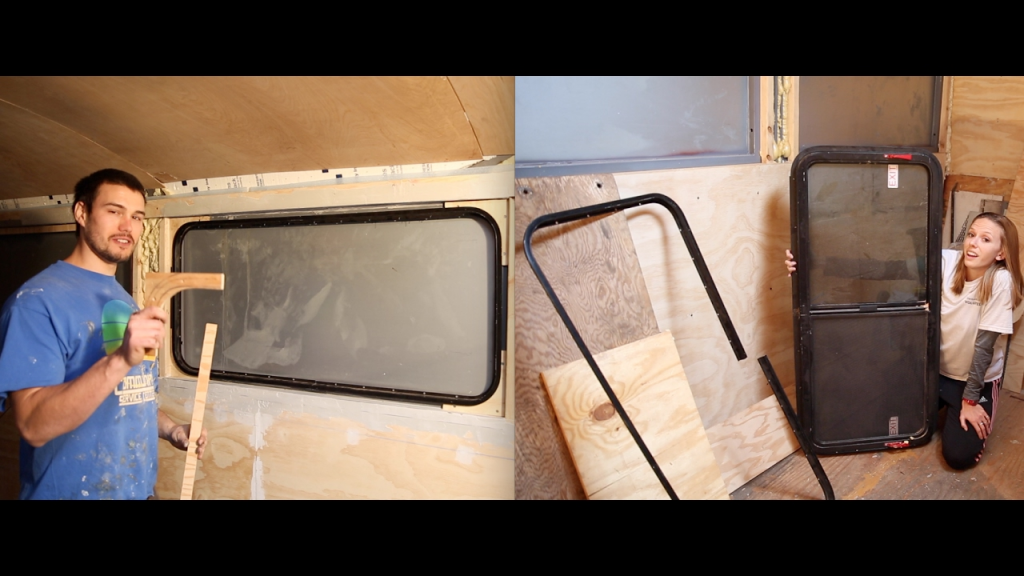
Dry Fit:
Before the RV window installation, make sure it fits correctly on the window opening by dry fitting it. Place the window in the opening without any sealants. Then using a ruler or a measuring tape, measure the overlap of the window frame over the sidewall of the RV. This overlap should be at least ⅜ to ensure a proper installation. If you find the top with less overlap then don’t worry, this is pretty common. You can easily use shims (rubber or wooden) to raise the window up from the bottom. Just ensure that the window placement is centered both horizontally and vertically.
Putty Tape:
Once you are sure of the fit, start applying the putty tape around the window opening. Do not hesitate to apply more putty tape. After all, more is always better than less. If there is any excess, it will always be removed when the interior trim is being screwed on. Begin at the center of the bottom firmly pressing it into place and removing the paper backing as you go. Once you reach the end, allow at least a half-inch of the tape to overlap the beginning point to ensure an unbroken seal. Ensure there are no future leakage or openings, make sure that the placement is properly sealed.
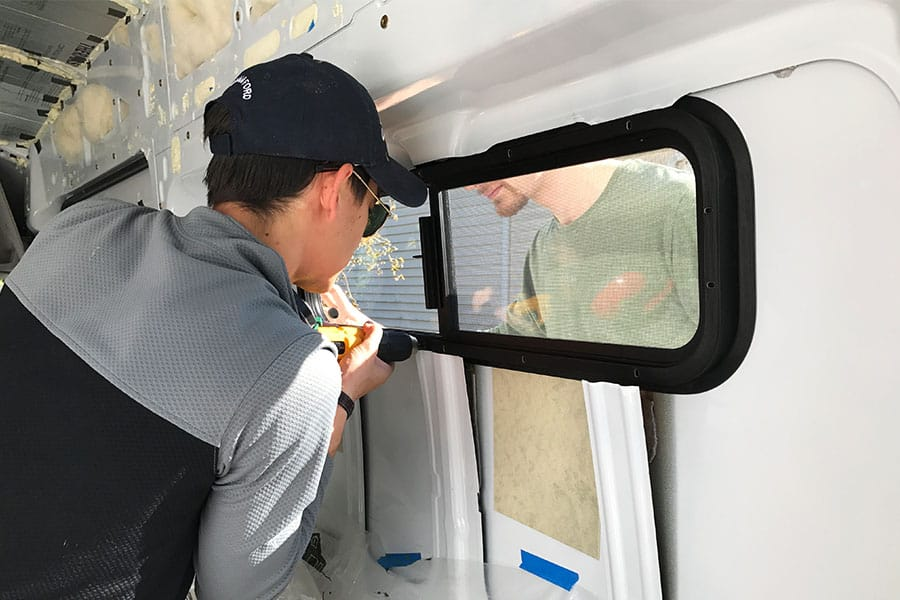
Install RV Windows:
Once the putty tape is in place, we are now ready to install the RV window. Using the spray bottle of water, to spray it all over the tape. This may sound strange but this process is there to ensure that you have some time to accurately place the windows before it starts sticking to the putty tape applied before. Once the water dries out, it allows the frame of the window to stick to the outer wall of the RV allowing a better water-tight seal. Next, you need to wet all the exterior of the RV as well.
Go ahead and set the new window onto the opening slowly. Make sure that the window is centered before you push against the window frame and allow the tape to adhere to the RV.
Interior Trim Ring:
Once the window is in place, wipe off all the excess water and press down the drain covers onto the bottom of the frame. You will now need to re-screw all the screws as supplied with the window. To make the process easier, always start with four different corners which will hold the window in place while you work on the rest of the screws. After each screw is in place, make sure to check for any gaps that you can refill with putty tape. Trim off the excess putty that is squeezed out as the screws are tightened. This will add to the finesse of the process allowing a factory finish to it.
Apply Sealant:
The final step after installing the RV windows is to use the silicone sealant around the frame. Make sure to smooth out the sealant either by using the flathead screwdriver or using your finger after wetting the sealant with the spray water bottle. This gives the window extra resistance from water damage over the years of usage.
5. Mistakes To Avoid
While we are on the subject, let’s talk about the common mistakes to avoid when installing RV windows, especially when you are doing it on your own. While it can be a costly affair, staying with the guidelines on what not to do will definitely ensure a better end result.
Not relying on professional suppliers:
Let’s be real, when given the choice for quality over cost, it is our human nature to opt for the cheaper option. But that is not always a good choice when it comes to RV windows. Getting cheaper supplies and window replacements from places that are not trustworthy is one of the major mistakes one can make. So when looking for options, always choose authentic and quality products offered by trustworthy suppliers.
Not getting the ideal fit:
Another major mistake one can make is not getting the perfect sized RV window for your vehicle. This not only ceases the actual functionality but in the long run will cause major issues like leaks inside the vehicle. Avoid this by relying on professional custom fit-outs by vendors that offer the exact make and brand of windows for your vehicle.
Functionality:
We have highlighted the importance of knowing the requirements for your RV window as it is one of the rookie mistakes that often occurs. Once installed, ensure there is no room for regrets as to what your RV window could have more of. Make sure to list out the priorities like budget, security, lighting, ventilation before you commit to an RV window.
And that is it, you have now successfully installed an RV window! Take a step back and admire your hard work! After the sealant and caulking has dried up, the RV is ready to be taken out on the road. It might sound like something daunting and difficult, but it is pretty doable once you get the basics right. Avoid any mistakes beginners make, and you are set for a successful RV window installation that will last for ages.
OUR LATEST BLOGS
READ THE LATEST FROM EMPRISE GLOBAL FOR GUIDES & TIPS